Shopify CLI 3 App Development Guide: The Complete 2026 Walkthrough
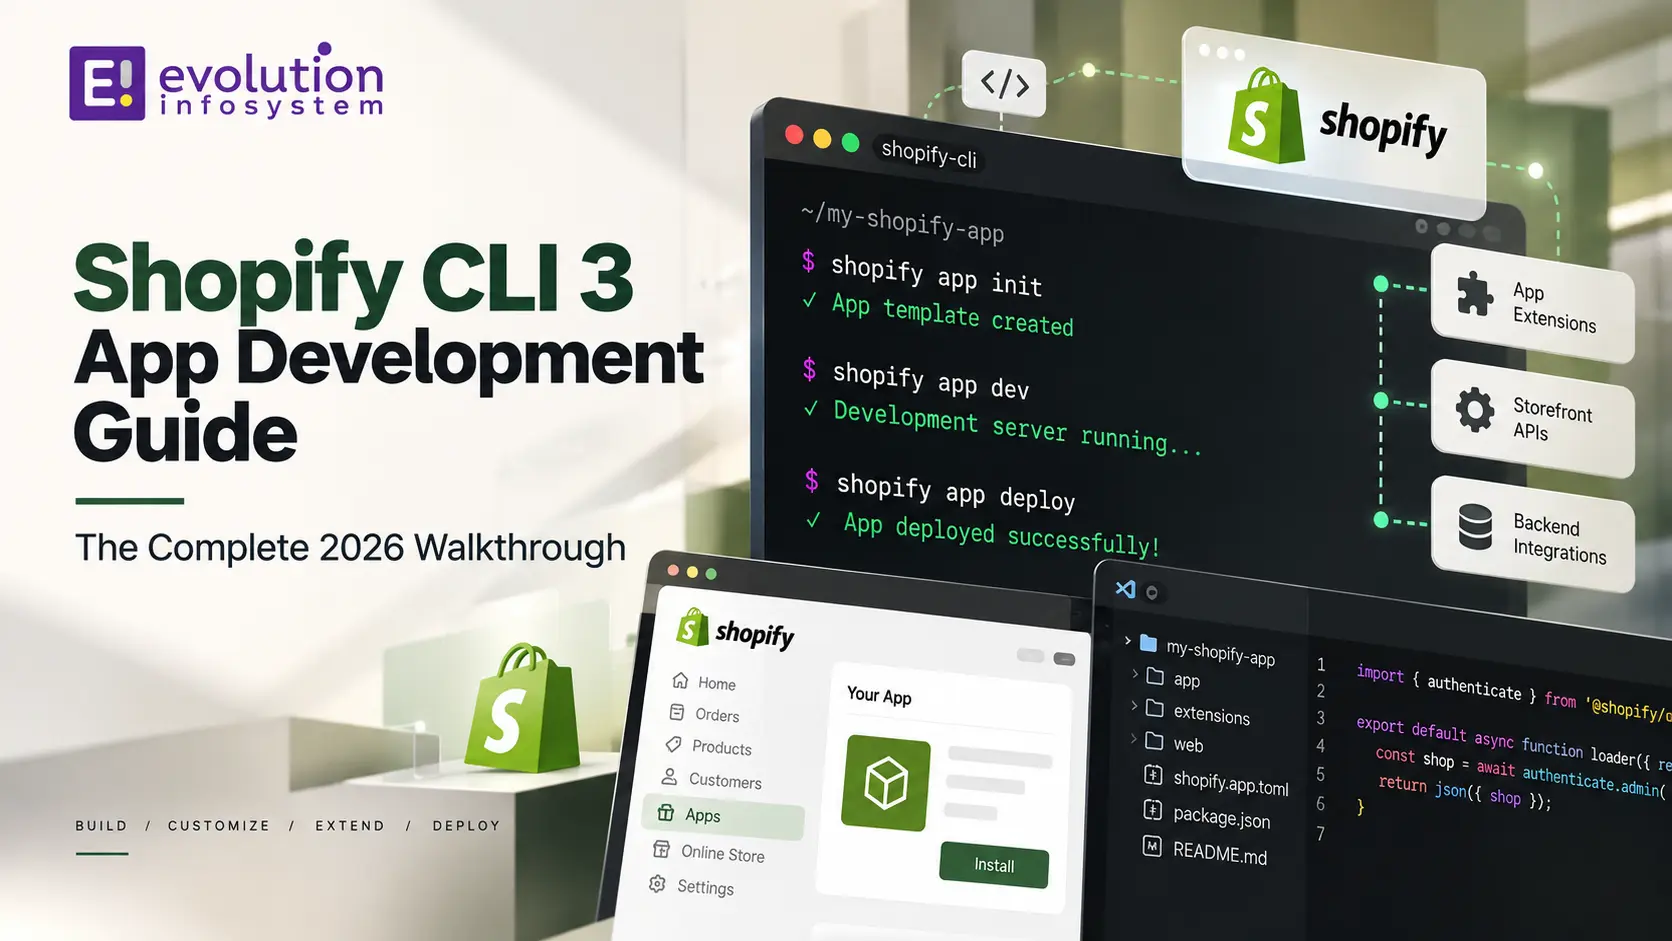
If you are getting ready to build your first Shopify app, or you are migrating an older project off deprecated tooling, this Shopify CLI 3 app development guide covers everything you need from initial installation through your first production deployment. Shopify CLI 3 is the current standard tool for scaffolding, developing, testing, and deploying Shopify apps, and this Shopify CLI 3 app development guide walks through the entire workflow the way it actually works today, not the way older tutorials referencing the deprecated Ruby-based CLI 2.0 might describe it.
Whether you are a developer new to the Shopify ecosystem or an experienced engineer refreshing your knowledge after a break from the platform, this Shopify CLI 3 app development guide is written to be a complete, practical reference you can follow step by step, from your very first command through ongoing app maintenance.
Key Terms to Know Before You Start
A short glossary makes the rest of this Shopify CLI 3 app development guide easier to follow, especially if you are new to Shopify’s developer tooling.
Scaffolding refers to the automatically generated starting code and directory structure the CLI creates when you initialize a new app. Extension is a modular piece of functionality, such as a checkout customization or theme block, that plugs into an app without requiring an entirely separate application. App version is a specific, deployed snapshot of your app’s configuration and extensions, which can be released independently from when it was deployed.
Development store is a special Shopify store type, available through your Partner account, used specifically for building and testing apps without affecting real merchant data. Tunneling is the mechanism Shopify CLI uses to expose your local development server to the internet temporarily, allowing Shopify’s servers to reach your app during local testing. Webhook subscription is a configuration entry telling Shopify which store events your app should be notified about automatically.
Keeping these terms straight will make the rest of this Shopify CLI 3 app development guide, and any conversation with another developer about your project, considerably easier to follow.
Quick Command Reference
| Command | Purpose |
|---|---|
| shopify app create | Scaffold a new Shopify app |
| shopify app dev | Run the app locally with live reload |
| shopify app deploy | Build and push a new app version |
| shopify app generate extension | Scaffold a new extension |
| shopify app logs | Stream real-time app logs |
| shopify app env | Manage environment variables |
| shopify app config link | Pull app configuration from the Partner Dashboard |
| shopify app versions list | List deployed app versions |
Keeping this table handy while working through this Shopify CLI 3 app development guide saves time looking up command syntax repeatedly during active development.
Why Shopify CLI 3 Replaced the Old Tooling
Before diving into commands, it helps to understand why this Shopify CLI 3 app development guide focuses exclusively on CLI 3 rather than older tooling. Shopify CLI 2.0, the original Ruby-based command line tool, was deprecated and sunset, with Shopify actively encouraging every developer to move to CLI 3 for app, theme, and custom storefront development.
CLI 3 is built on Node.js rather than Ruby, which removes a dependency many JavaScript-focused developers previously had to install separately just to use Shopify’s tooling. It also unified app, theme, and Hydrogen storefront development under a single consistent command structure, which is one of the reasons this Shopify CLI 3 app development guide can cover the full app-building workflow using one coherent set of commands rather than several disconnected tools.
Shopify has continued actively investing in CLI 3 since its initial release, adding features like bundled app package dependencies and expanded extension scaffolding options over successive minor versions. This ongoing investment is part of why this Shopify CLI 3 app development guide treats CLI 3 as the durable, current standard rather than a stepping stone toward some future major rewrite, unlike the more clearly end-of-life status of the original CLI 2.0.
Installing Shopify CLI 3
The first practical step in any Shopify CLI 3 app development guide is installation, and thankfully this part is straightforward regardless of your operating system.
You will need Node.js and a package manager, npm, Yarn, or pnpm, installed before proceeding. On macOS or Linux, you can install Shopify CLI globally using Homebrew with brew tap shopify/shopify followed by brew install shopify-cli, or install it globally through npm with npm install -g @shopify/cli on any supported platform including Windows.
Once installed, confirm everything is working by running shopify version in your terminal, which should return the current installed version number. This Shopify CLI 3 app development guide recommends keeping the CLI updated regularly, since Shopify ships frequent improvements and bug fixes, and running an outdated version can occasionally cause confusing mismatches with the current Partner Dashboard or Admin API behavior.
As of more recent CLI releases, the app-specific package is bundled directly with the core CLI installation, meaning you no longer need to separately install an additional app package the way earlier versions once required. This Shopify CLI 3 app development guide reflects that simplified installation process, though if you are following an older tutorial, be aware it may reference a now-unnecessary extra installation step.
Authenticating Your Terminal
With installation complete, the next step in this Shopify CLI 3 app development guide is connecting your terminal to your Shopify account. Run shopify login, which opens a browser window prompting you to authenticate with your existing Shopify Partner or store credentials.
Once authenticated, your terminal session stays connected, letting you create, develop, and deploy apps without needing to log in again for each command. This authentication step is what allows Shopify CLI 3 to communicate with the Partner Dashboard and your development store on your behalf throughout the rest of the workflow this guide covers.
Session persistence is generally reliable, but it is not indefinite. If you return to a project after an extended break and commands begin failing with authentication errors, running shopify login again typically resolves the issue quickly, and this Shopify CLI 3 app development guide’s troubleshooting section later covers this specific scenario in more detail.
Creating Your First App
The heart of any Shopify CLI 3 app development guide is app creation, and Shopify has made this process remarkably simple through scaffolding templates that handle most of the initial setup automatically.
Run npm init @shopify/app@latest, or shopify app create if you have the CLI installed globally, and you will be walked through a series of prompts covering your app’s name, which organization it belongs to in your Partner Dashboard, and which template to start from. Shopify provides several official templates, including Node.js and Remix-based options, and you can also point to a custom template hosted on GitHub if your team maintains its own starting point.
This scaffolding step saves significant setup time compared to configuring a new app’s directory structure, authentication flow, and Admin API connection entirely by hand, which is exactly the kind of repetitive work this Shopify CLI 3 app development guide expects you to let the tooling handle automatically.
Choosing the right template at this stage matters more than it might initially seem. The Remix template has become the more commonly recommended starting point for new projects given Shopify’s own tooling direction, while the plain Node.js template remains a reasonable choice for developers who prefer a lighter-weight starting structure or already have strong opinions about their own backend architecture.
Understanding the Project Structure
Once your app is scaffolded, this Shopify CLI 3 app development guide recommends taking a few minutes to understand the resulting directory structure before writing any custom code, since Shopify CLI expects a fairly conventional layout to function correctly.
A typical app includes a web directory containing your backend and frontend code, an extensions directory for any app extensions such as theme app extensions, checkout UI extensions, or Shopify Functions, and a shopify.app.toml configuration file defining your app’s core settings, scopes, and webhook subscriptions. Understanding this layout early makes every subsequent step in this Shopify CLI 3 app development guide considerably easier to follow, since most commands operate directly on this expected structure.
Running Your App Locally With shopify app dev
The development workflow covered in this Shopify CLI 3 app development guide centers on the shopify app dev command, which builds your app, connects it to a development store, and watches for file changes so you can see updates reflected immediately without manually restarting anything.
Running this command for the first time will prompt you to select or create a development store if you have not already connected one, and it automatically handles the tunneling needed to expose your local server so Shopify’s servers can reach it during testing. This live-reload workflow is one of the most valuable parts of Shopify CLI 3, since it eliminates much of the manual redeploy-and-refresh cycle that made earlier app development considerably slower.
Keep in mind that the development environment shopify app dev creates is genuinely live in the sense that it connects to a real, functioning development store, but it is entirely separate from any deployed production version. Understanding this distinction clearly early on prevents a common point of confusion covered again later in this Shopify CLI 3 app development guide’s troubleshooting section, where developers sometimes assume local changes are automatically reflected for real, installed merchants.
Configuring API Scopes and Webhooks
Any thorough Shopify CLI 3 app development guide needs to cover the shopify.app.toml configuration file directly, since this is where you define exactly what data your app can access and which events it listens for.
API scopes define the specific Admin API permissions your app requests during installation, such as read_products or write_orders, following the same least-privilege principle that matters for any Shopify integration regardless of how it was built. Webhook subscriptions defined in this file tell Shopify which events, such as orders/create or app/uninstalled, should trigger a notification to your app, letting you build responsive, event-driven functionality rather than constantly polling the API for changes.
Changes to this configuration file need to be pushed to Shopify before they take effect for real installations, using the shopify app deploy command covered later in this Shopify CLI 3 app development guide. It is easy to edit the file locally, test successfully in your development environment, and forget that a production deployment is a separate, required step, which is one of the common mistakes this guide addresses directly in its dedicated section further down.
Generating Extensions
Beyond the core app, this Shopify CLI 3 app development guide also covers extensions, which let your app add specific functionality like a checkout customization, a theme block, or a Shopify Function without building an entirely separate application.
Run shopify app generate extension to scaffold a new extension, and the CLI will walk you through selecting the extension type you need, whether that is a theme app extension, a checkout UI extension, or a Shopify Function written in Rust or JavaScript. Each extension type comes with its own scaffolded starting code and configuration, letting you focus on the specific business logic rather than the boilerplate setup this Shopify CLI 3 app development guide would otherwise require you to write manually.
Extensions live alongside your core app in the same project, sharing the same deployment pipeline, which means a single shopify app deploy command pushes both your app’s core code and any extensions together as part of the same version. This unified deployment model is one of the more significant improvements CLI 3 brought over earlier, more fragmented approaches to managing app extensions separately from the core application.
It is worth noting that not every extension type is appropriate for every use case, and choosing correctly at the generation step saves rework later. A theme app extension suits visual, merchant-configurable additions to a storefront’s theme, a checkout UI extension suits interface changes within the checkout itself, and a Shopify Function suits backend logic changes to discount, shipping, payment, or cart behavior that do not involve any visual component at all.
Testing and Debugging Your App
No Shopify CLI 3 app development guide would be complete without covering testing, since catching issues locally before deployment saves significant time compared to debugging problems on a live installation.
The shopify app dev command’s live environment lets you test most functionality directly against your connected development store, including installing the app, triggering webhooks, and exercising any admin interface your app provides. For deeper debugging, shopify app logs opens a real-time stream of your app’s logs directly in your terminal, which is particularly useful for diagnosing issues with webhook handling or backend logic that would otherwise be difficult to observe without dedicated logging infrastructure.
Beyond the CLI’s built-in tools, most teams following this Shopify CLI 3 app development guide also maintain a standard testing suite for their app’s backend logic, separate from the manual, interactive testing the CLI’s development environment supports. Automated tests catch regressions in business logic quickly, while the CLI’s live environment remains the best tool for verifying how your app actually behaves inside the real Shopify admin and checkout experience.
Deploying Your App
Once testing is complete, this Shopify CLI 3 app development guide moves to deployment, handled primarily through the shopify app deploy command, which builds your app and pushes both its configuration and any extensions to Shopify.
This command creates a new app version, which you can then release to make it the active version your installed merchants receive. Separating deployment from release gives you the ability to deploy a new version, verify it looks correct, and only then make it live, rather than every deploy immediately becoming the version every user experiences. Any careful Shopify CLI 3 app development guide should stress using this separation deliberately, particularly for apps with an existing base of installed merchants who could be affected by a problematic release.
The shopify app versions list command gives you visibility into your deployment history, showing which versions have been deployed and which is currently released. This becomes particularly valuable when something goes wrong after a release and you need to quickly identify a previous, known-working version to roll back to, or simply to understand the timeline of changes when reviewing an app’s history with a new team member.
Managing Environment Variables and Configuration
Real-world apps typically need to manage secrets and environment-specific configuration, and this Shopify CLI 3 app development guide covers the relevant commands for handling this correctly rather than hardcoding sensitive values.
The shopify app env command family lets you create or update a local .env file containing your app’s environment variables, and separately display the environment variables needed for deployment without exposing them unnecessarily. Keeping secrets out of version control while still making them easily accessible during local development is a discipline this Shopify CLI 3 app development guide recommends establishing from the very first commit, rather than retrofitting it after a credential accidentally ends up in a public repository.
Beyond the CLI’s own environment variable handling, most production apps also rely on a proper secrets management solution for their hosting environment, whether that is a cloud provider’s built-in secrets manager or a dedicated third-party service. The CLI’s environment variable tools handle local development well, but this Shopify CLI 3 app development guide recommends a more robust solution once an app moves toward serving real merchant traffic in production.
Working With Multiple Environments
As your app matures, this Shopify CLI 3 app development guide recommends thinking about how you manage configuration across multiple environments, such as a development store, a staging store, and eventually production merchants.
The shopify app config use command lets you set which configuration file the CLI applies by default for a given app, useful if your team maintains separate configurations for different environments or deployment targets. This becomes particularly relevant for larger teams following this Shopify CLI 3 app development guide together, since consistent configuration management prevents one developer’s local settings from accidentally affecting a shared or production deployment.
Teams that skip this step often discover the problem the hard way, when a developer’s locally modified configuration accidentally gets deployed as part of a routine release. Establishing a clear convention for which configuration file represents the source of truth for production, agreed upon and documented early, avoids this class of mistake entirely rather than discovering it after an unintended change reaches real merchants.
Common Mistakes to Avoid
A handful of recurring mistakes show up regularly among developers working through their first real project using this Shopify CLI 3 app development guide as a reference, and naming them directly can save real debugging time.
Forgetting to run shopify app deploy before assuming changes are live is a common early mistake, since local development through shopify app dev only affects your connected development store’s live preview, not any deployed version merchants actually have installed. Requesting overly broad API scopes out of uncertainty about what an app will eventually need is another frequent issue, creating unnecessary security exposure that a more disciplined, scope-as-needed approach avoids entirely.
Skipping the extension configuration validation step is a subtler mistake. Running shopify app config link and shopify app deploy regularly, rather than only right before a release, catches configuration errors early instead of letting several changes accumulate before a single, harder-to-debug deployment attempt.
A less obvious mistake involves neglecting to test the uninstall flow, specifically whether an app/uninstalled webhook correctly cleans up any data or subscriptions your app maintains outside Shopify. Skipping this test can leave orphaned records or ongoing charges after a merchant uninstalls, which is exactly the kind of issue this Shopify CLI 3 app development guide’s testing section is meant to help you catch before it affects a real user.
Working With a Development Partner
For teams without in-house Shopify expertise, or projects with tight timelines, working with an experienced development team can significantly shortcut the learning curve this Shopify CLI 3 app development guide covers from scratch.
At Evolution Infosystem, our developers use Shopify CLI 3 daily across custom app projects, public App Store submissions, and Shopify Functions development, following the same disciplined scoping, testing, and deployment process outlined throughout this guide. Businesses working through a broader Shopify platform project often benefit from pairing app development with related work in CMS integration or backend systems built on frameworks like MEAN stack.
A Real-World Example: From Scaffold to Production
Consider a developer tasked with building a custom inventory sync app for a mid-sized retailer. Following the process outlined in this Shopify CLI 3 app development guide, the project started with shopify app create, selecting the Node.js template, followed by a few days of active development using shopify app dev against a connected development store.
Webhook subscriptions for inventory-related events were configured directly in shopify.app.toml, and a Shopify Function was added later using shopify app generate extension to handle a specific business rule the client needed. Testing happened continuously through the live-reload development environment, with shopify app logs used to debug a webhook delivery issue that only appeared under specific timing conditions.
Once testing was complete, shopify app deploy created a new version, which the team reviewed on a secondary test store before running the release command to make it live for the actual client store. This end-to-end flow, scaffold, develop, test, deploy, release, is the core loop this Shopify CLI 3 app development guide is built around, and it holds true whether the project is a small internal tool or a much larger public app.
Quick Checklist Before Your First Deployment
Use this checklist as a fast, practical companion to the rest of this Shopify CLI 3 app development guide before pushing your first real deployment.
Confirm your shopify.app.toml file requests only the API scopes your app actually needs, rather than broad permissions requested out of uncertainty. Verify webhook subscriptions are correctly configured and have been tested against real events in your development store, not just assumed to work based on the configuration file alone.
Run shopify app deploy to a test or staging environment before releasing to any store with real merchant data, and review the resulting app version carefully before running the release command. Confirm sensitive values are stored through environment variables rather than hardcoded anywhere in your committed source code, and double-check your .env file is excluded from version control.
Troubleshooting Common Shopify CLI 3 Issues
Even experienced developers run into a handful of recurring issues while working through the workflow this Shopify CLI 3 app development guide describes, and knowing the likely causes speeds up resolution considerably.
If shopify app dev fails to connect to your development store, check that your authentication session is still valid by running shopify login again, since sessions can expire during long working periods. If webhook events are not arriving as expected, confirm the subscription is correctly defined in shopify.app.toml and that the corresponding API scope has actually been granted during app installation, since a missing scope silently prevents the associated webhook from firing.
If a deployment fails validation, run shopify app config link to pull the latest configuration and compare it against your local file, since configuration drift between your local file and what is registered in the Partner Dashboard is a common cause of deployment errors that this Shopify CLI 3 app development guide’s earlier sections on multi-environment management are specifically designed to help you avoid.
Frequently Asked Questions
Is Shopify CLI 2.0 Still Supported?
No. Shopify CLI 2.0, the original Ruby-based tool, has been deprecated and sunset in favor of CLI 3, which is why this Shopify CLI 3 app development guide focuses entirely on the current Node.js-based tooling rather than older commands you may find in outdated tutorials.
What Node.js Version Do I Need for Shopify CLI 3?
Shopify recommends using a current, actively supported Node.js version, since older versions can cause compatibility issues with the CLI’s dependencies. Checking Shopify’s official documentation for the specific minimum version supported at any given time is the most reliable approach, since this requirement is updated periodically.
Do I Need a Partner Account to Use Shopify CLI 3?
Yes, for most app development workflows you will need a Shopify Partner account to create and manage apps through the CLI, connect development stores, and eventually submit a public app for App Store review if that is your goal.
What Is the Difference Between shopify app dev and shopify app deploy?
The shopify app dev command runs your app locally against a connected development store with live reloading for active development and testing. The shopify app deploy command builds and pushes your app’s configuration and extensions to Shopify as a new version, which is the step covered in this Shopify CLI 3 app development guide for actually publishing changes.
Can I Use Shopify CLI 3 to Build Shopify Functions?
Yes. The shopify app generate extension command supports scaffolding Shopify Functions written in Rust or JavaScript alongside other extension types, making Shopify CLI 3 the standard tool for Functions development as well as traditional app development.
Can Multiple Developers Work on the Same App Using Shopify CLI 3?
Yes. Multiple developers can work on the same app codebase, sharing the same shopify.app.toml configuration through version control, though each developer typically connects to their own development store during local testing to avoid conflicts. Using shopify app config link consistently across the team keeps everyone working from the same source of truth for shared configuration.
What Happens If a Deployment Introduces a Bug?
Because shopify app deploy creates a new version separate from what is currently released, you can typically address a bug by fixing the code and deploying a corrected version, then releasing that instead. Keeping deployment and release as distinct steps, a practice this Shopify CLI 3 app development guide recommends throughout, gives you a safety buffer to catch problems before they reach every installed merchant.
How Do I Migrate an Older App to Shopify CLI 3?
Migrating typically involves restructuring your project to match the conventional directory layout CLI 3 expects, recreating your shopify.app.toml configuration file, and testing thoroughly against a development store before deploying. For complex legacy apps, working with a developer experienced in this specific migration, a common request covered by this Shopify CLI 3 app development guide’s broader audience, can help avoid missed configuration details.
Final Thoughts
Shopify CLI 3 has meaningfully simplified app development compared to the tooling that came before it, unifying scaffolding, local development, testing, and deployment into a single, coherent command structure. This Shopify CLI 3 app development guide has walked through installation, authentication, app creation, project structure, local development, extensions, testing, deployment, and the environment management practices needed to run a real, maintainable project.
If you are building your first Shopify app or modernizing an existing one, following the workflow in this Shopify CLI 3 app development guide step by step will get you to a working, deployable app considerably faster than piecing the process together from scattered documentation. Bookmark the command reference table near the top of this guide for quick lookups during active development, and revisit the troubleshooting section whenever something unexpected comes up rather than starting your debugging from scratch each time.
And if your project needs more hands-on expertise, Evolution Infosystem is glad to help you scope and build it correctly from the start.